

Remember awhile ago when I gave you a sneak peak of our pavers on instagram, and then I never posted it? Well…wait no longer!
 Why the delay? Well, 2 reasons: #1 we had a few stones that required the Mr.’s help to cut, and #2 I kept forgetting to take pictures of our new paver patio at the correct time of day.
Here’s what we did:
 Here’s a sad glimpse at the before.

Before we did anything, we had to assess the size of the patio we wanted to created. It needed be big enough, not only for the BBQ, but for Mike’s smoker that gets pulled out occasionally. I also wanted it big enough to actually make an impact. After weighing a few options we decided to make it as wide as our actual covered patio, but left some space between the cement patio and the rocks so water could drain during monsoon season. It measures 9’x6′.

Once we decided on a size, we started digging. Anyone familiar with Arizona knows that digging in the ground is no joke. The earth is mostly clay and ridiculously hard. Because of that, and the lack of “real” equipment, we ended up digging around 6 inches deep. Ideally you would want to dig much deeper to have a more solid base. We did what we could. Once that was done we added a layer of gravel a few inches deep.


Once the gravel was relatively level, and packed down, we added a layer of sand a few inches thick. We leveled it, packed it down, and gave it a slight slope for drainage.

After that the fun part started. Placing the stones!


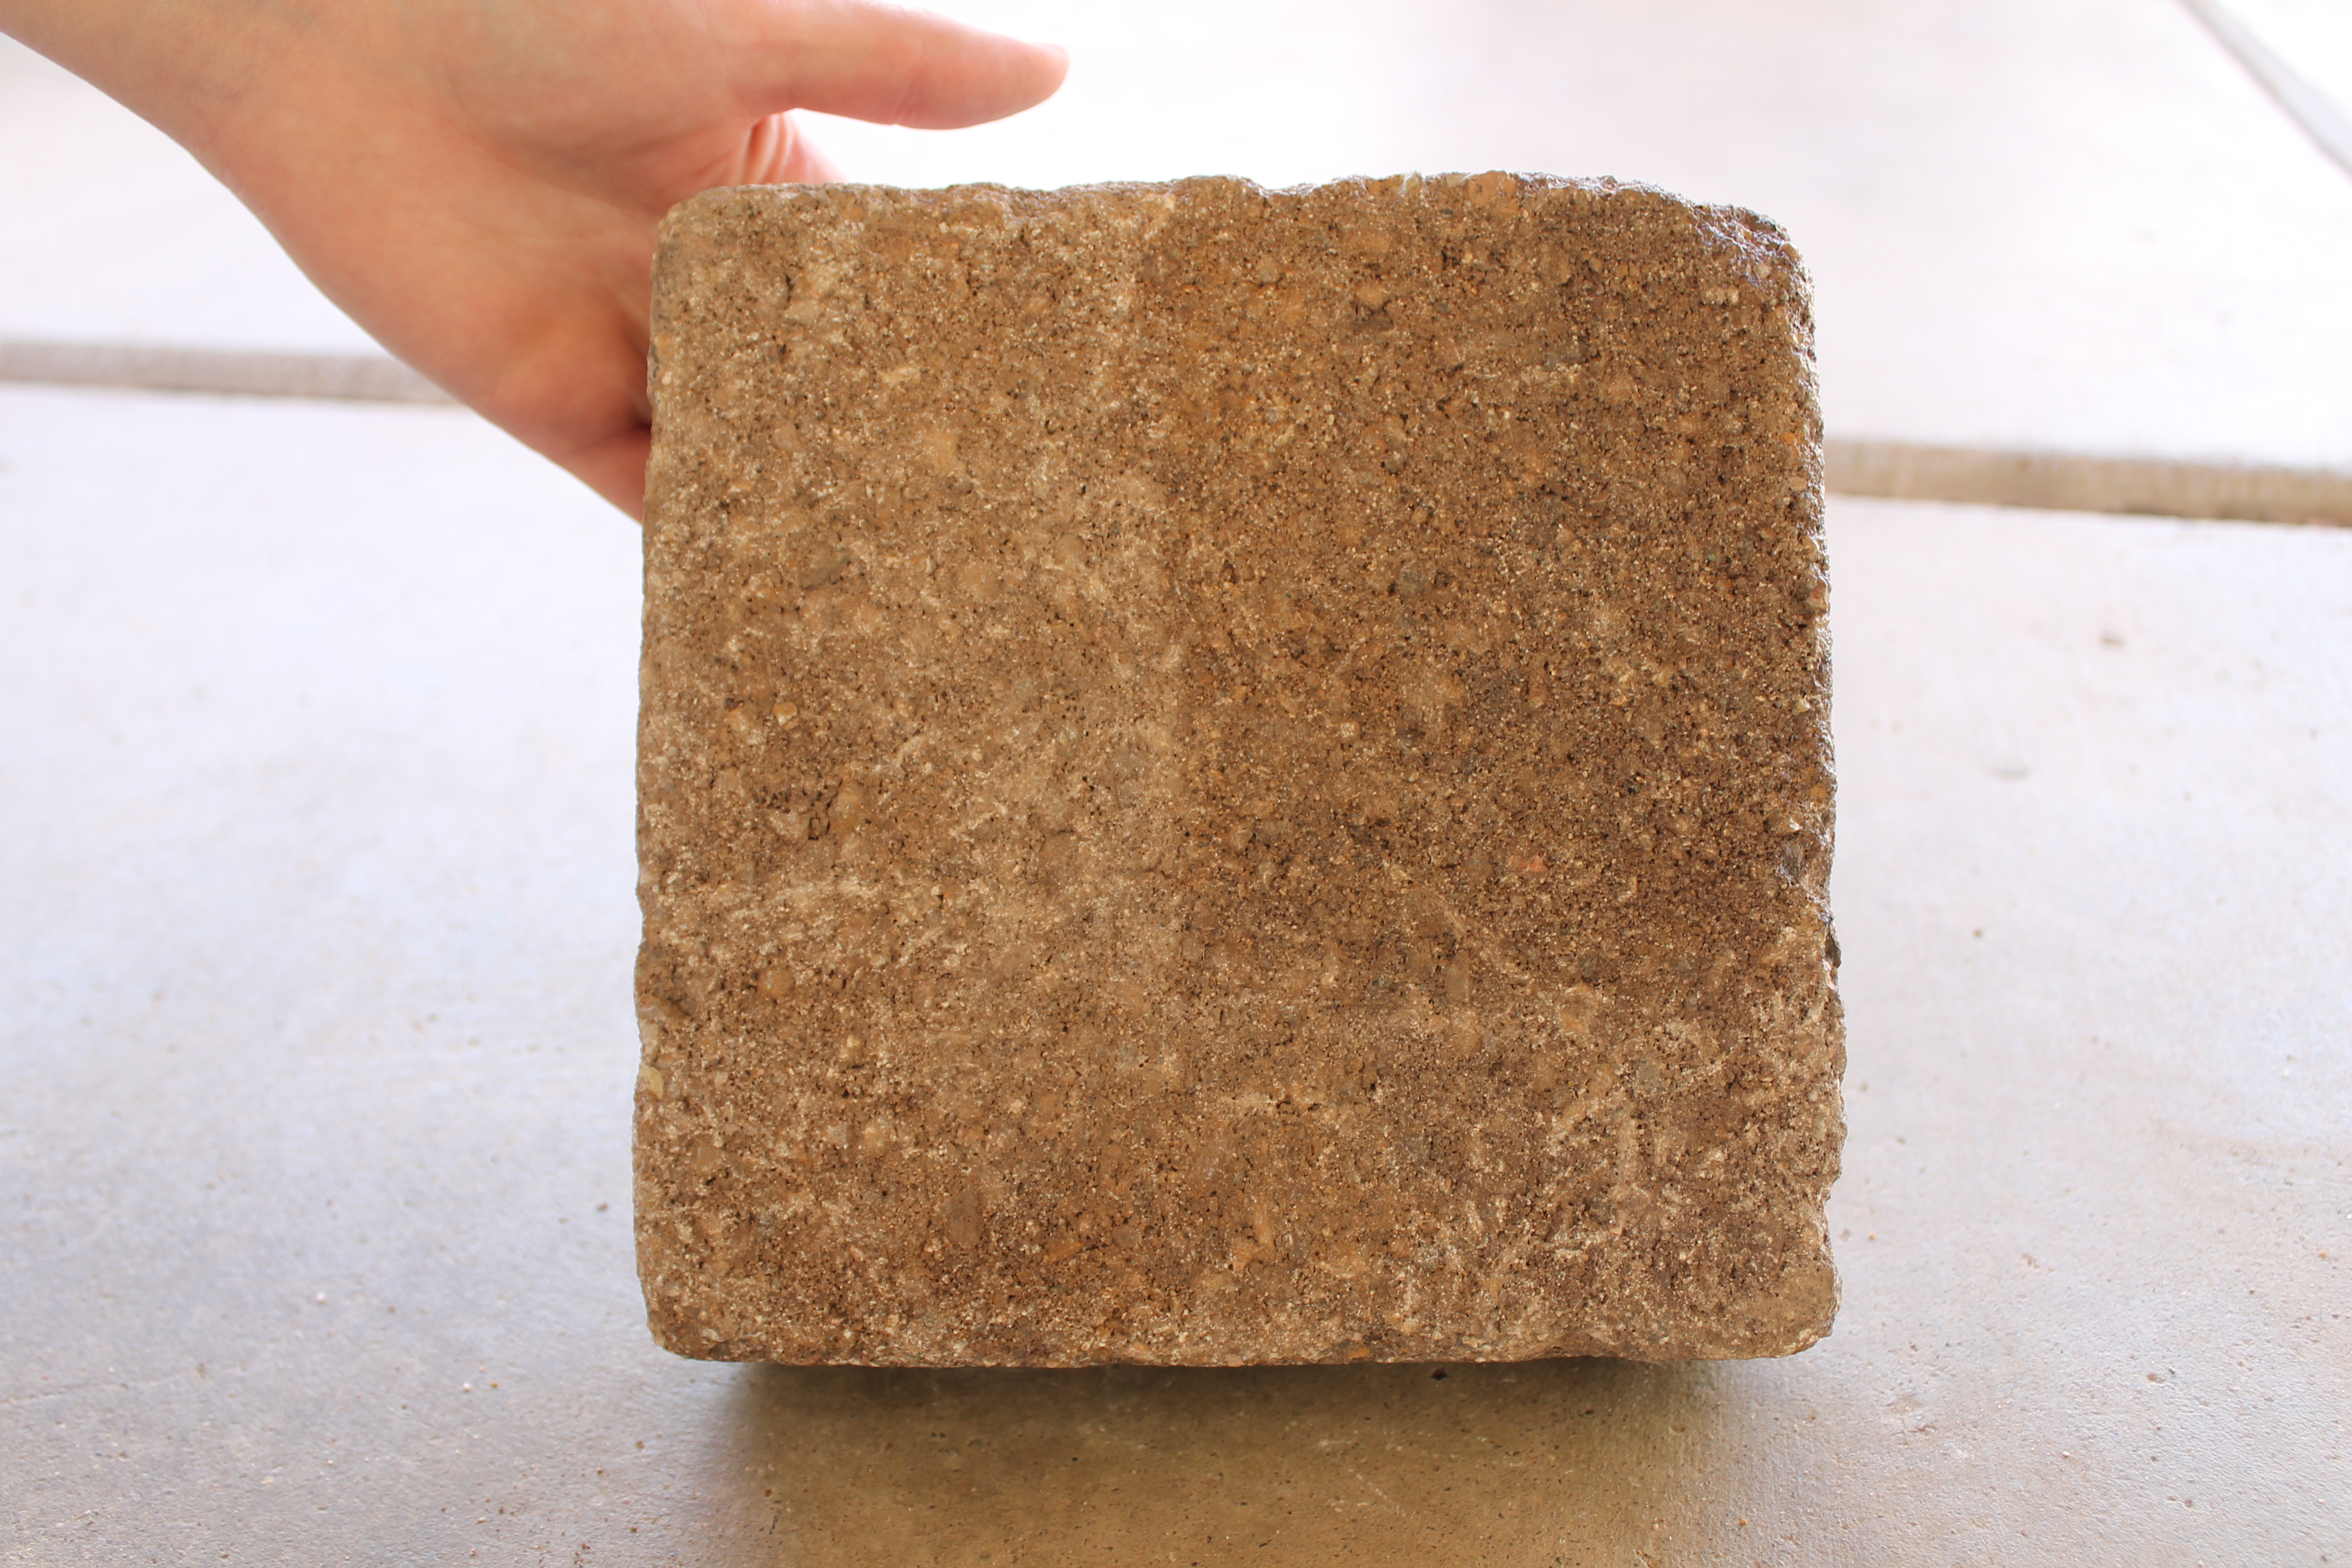
 We selected the Rumblestone from Home Depot in 3 different sizes. We liked how many options we had with it and the overall look. Using the above guide, we purchased the correct amount of stones for the middle pattern. I did my best to actually follow the pattern, but somewhere along the way I got seriously confused and started winging it. The pattern seemed sort of random anyway, so winging it didn’t change the look at all.

Like I mentioned before, we left a gap between the new paver patio and the covered patio for drainage. It seemed really disconnected to me so I added a few steps between the two for better flow. Once everything was set in place we used a broom to push sand into all the cracks and then we soaked it, and I mean SOAKED it. We wanted to make everything settle as much as possible.

After everything was dry from our soak/settle session I sealed the pavers with Behr’s Wet-look Sealer. I simply made sure the pavers were as clean as possible and used a regular old paint brush to brush the sealer on. Another option would be to spray it on and back roll it with a roller. My project was small enough the brush was perfectly fine.


 We are loving our new paver patio. The look. The function. Everything about it. Was it a professional job? Definitely not. Did we have fun and learn a lot along the way? Absolutely! I wish we could check this corner of our world off the list, but it needs a little more tweaking. Mike wants a new smoker/BBQ, and I’m hoping to do a fun project in the fall to cover up all the damaged stucco on the fence. Here’s a hint: it’s for the kids. Some patio lights might finding a home nearby as well. I’ll keep you posted.
*A little FYI: I skipped the part where we cut the stones because I definitely do NOT recommend what we did. In fact, I’m scared to even tell you how we did it. Just take my advice and rent/buy a wet saw and do it right!
See where this post parties:
- My Pinterventures
- The Sunday Showcase by Stephanie Lynn
- Skip to my Lou
- DIY Show off
- Craft o Maniac
- The Dedicated House
- Coastal Charm
- Not just a Housewife
- Hope Studios
- Domestically Speaking
- Savvy Southern Style
- Sweet Haute Blog
- Tidy Mom
- The Romantic Home
- My 1929 Charmer
- Nifty Thrifty Things
- Moonlight and Mason Jars party
- It’s a Ginger SNAP
- Inspire me Monday party

It looks like a million bucks! Such a great area for the bbq grill – well done. Jane
LikeLike
What a great tip! Hello, my name is Misty, and I’m one of the new so-hosts for the Merry Monday Linky Party! Thanks for linking up at the Merry Monday’s Linky Party this week. Have an awesome weekend!
LikeLike
I love the look of pavers and your patio turned out great. Thanks for sharing it on Merry Monday. Hope to see you again tonight at 6pm PST.
LikeLike
Kristie, it looks amazing! Thank you for sharing. You are one of the fan favorites at the Sunday Showcase from the Make it Pretty Monday party at The Dedicated House. Here is the link so you can check out your feature. http://www.thededicatedhouse.com/2014/07/sunday-showcase-from-make-it-pretty.html Hope to see your prettiness again tomorrow at the bash! Toodles, Kathryn @TheDedicatedHouse
LikeLike
This looks wonderful! Great job!
LikeLike
that looks great! i really like the curved edgers, too. i’m always on the lookout for something, but have never found something i truly liked.
LikeLike