THE PICTURE FRAME MOULDING IS DONE!
If you missed part one here it is.
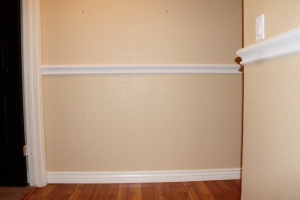
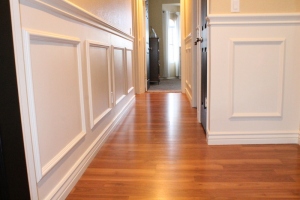
Before and After
 What a difference!! I couldn’t be happier with it. Mike, who was NOT on board with this project, even loves it. It makes our hallway so inviting and gives it some much needed interest. I’m not gonna lie. When I first finished it I may, or may not, have sat on the floor staring at it.
Here’s how I did it.
What you’ll need:
moulding to build your frames
wood glue
miter saw
brad nailer and air compressor
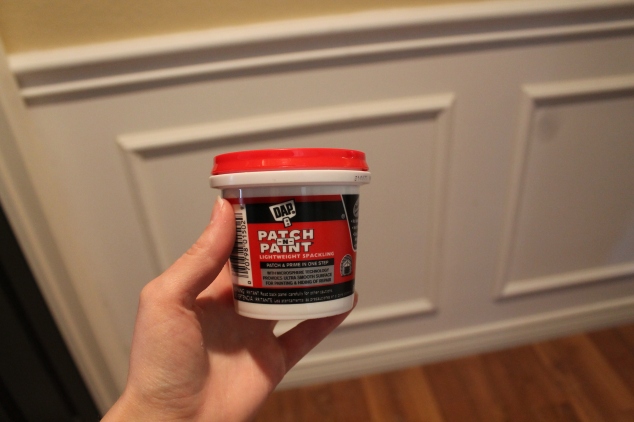
spackle
painters caulk and caulking gun
sponge sander
paint and paint supplies
Let’s start with the frames.
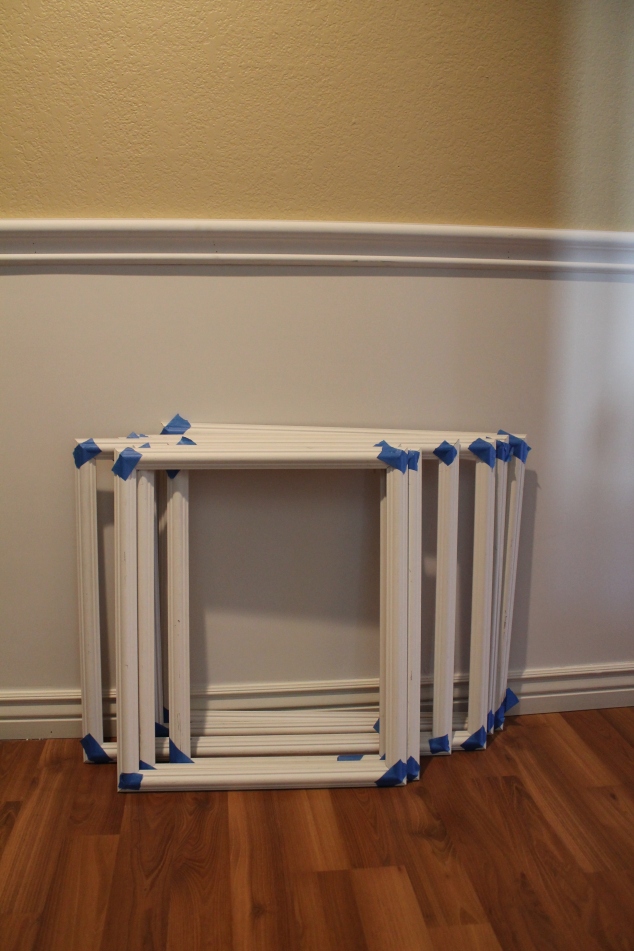
I decided to build my frames before hand to save me the trouble of trying to make all the sides match up on the wall. I built the frames so they are 6″ apart and 4.5″ from both the floor board and the chair rail. Using a miter saw, I cut each side at a 45 degree angle to make my corners. Once all of my sides were cut I glued the frames together with wood glue and secured each corner with painters tape. Once it was dry I put brad nails through each corner. Voila! The frames were done. All of these frames took me about 30 minutes.
Now to attaching the frames to the wall.
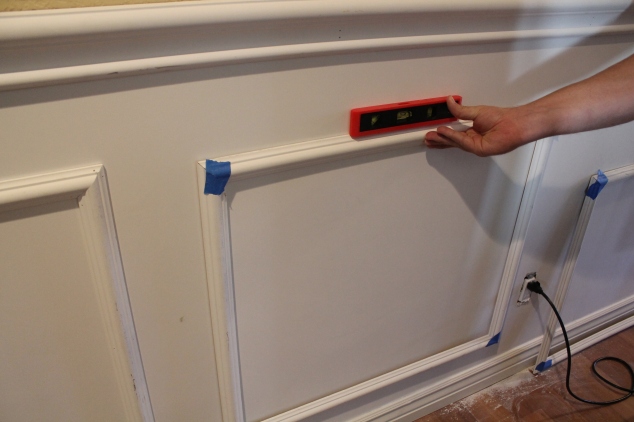
After measuring, and measuring, and measuring to make sure we had the frame in the right place, we put the level on top of the frame to make sure it was perfect. We also bridged the level across the corner of one frame to another to make sure all the frames were lining up.
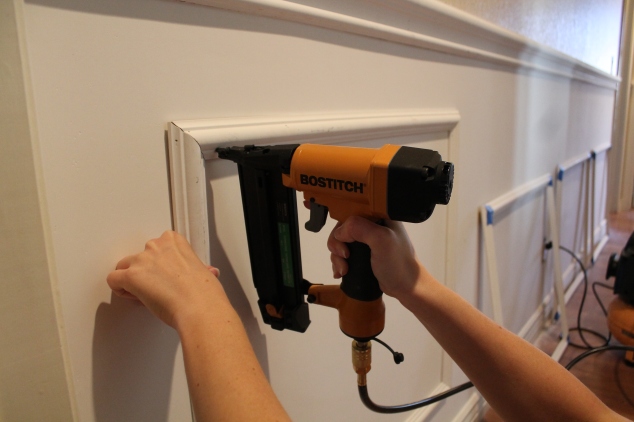 Using the brad nailer I tacked the frame into place. I tried to hit every stud I could but it was necessary to nail it just into the drywall in places. It probably wouldn’t be a bad idea to put some liquid nails behind these frames as well, but I opted not to. I was worried the liquid nails would get all over the place while we were placing the frames on the wall and that it would make them sit away from the wall.
Now to the tedious finish work where you can make, or break, your project.
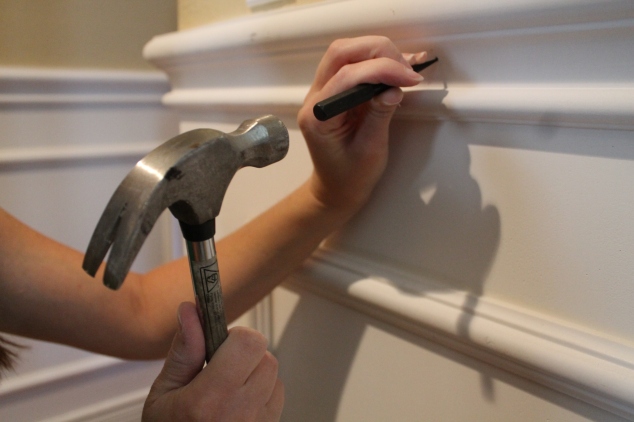
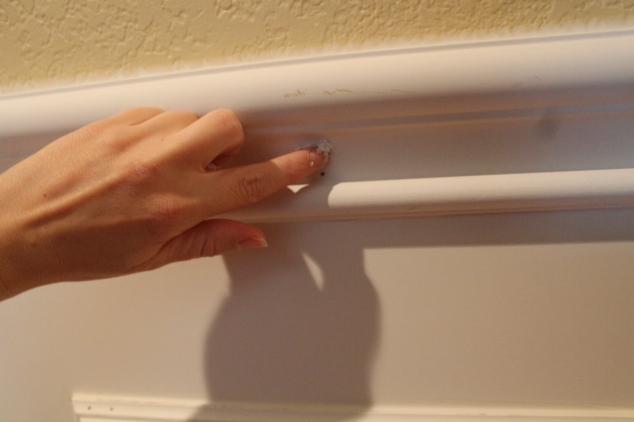
Before I started filling any seams, I used a nail set tool to gently hammer in any nail heads that were sticking out a little.
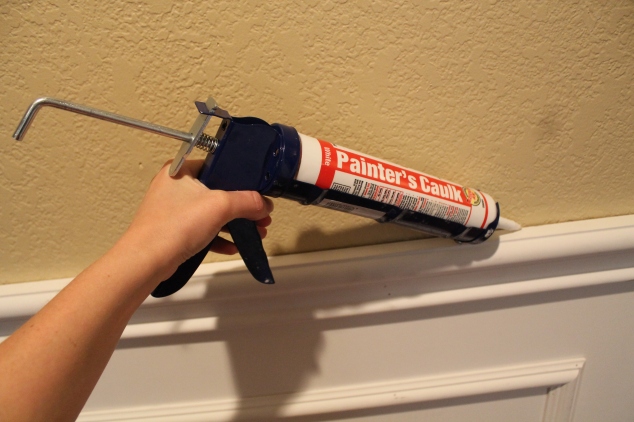
Using a caulking gun, and painters caulk, I filled in the gap between the chair rail and the wall. I also filled in the gaps between the frames and the wall (above and below the moulding).
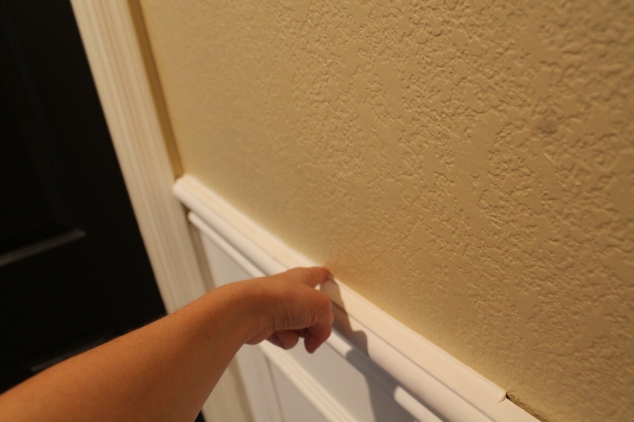
To make the caulking completely smooth, I got my finger wet and simply ran it across the line of caulking.
Once all the lines were filled with painters caulk, I filled all the nail holes and the corners of each frame with spackle. Spackle is easier to work with and much, MUCH, easier to sand.
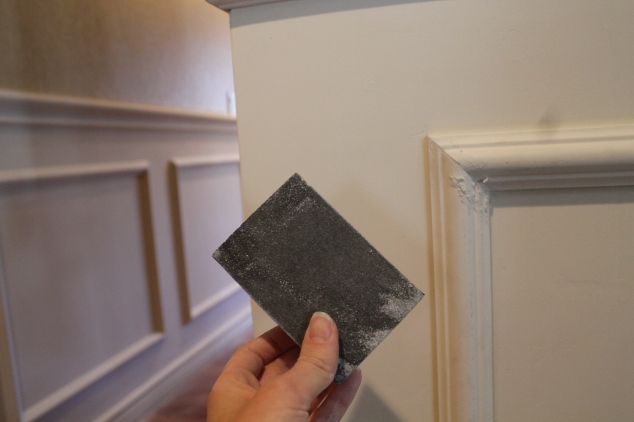
Most people like to use a scraper or something to apply spackle, but I don’t mind getting my hands dirty. I overfilled each hole and once it was dry sanded it completely smooth with a sponge sander.
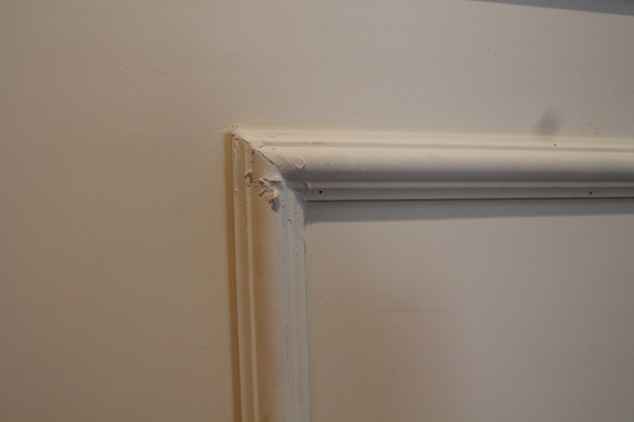
The corners of the frames is where it got a little trickier. Using my finger, and the spackle, I overfilled each seam making sure I filled in the crack completely.
It looked completely scary, but I knew the sponge sander would save the day.
Before I started painting, I tried to get as much dust off of everything that I could. After 2 coats, and some touch ups on the wall above, I was left with…
…THIS! I absolutely love it.
*Now to work on a gallery wall above it.
This post was the star feature at The Dedicated House.
See where this post likes to party!
- The Brambleberry Cottage
- The Sunday Showcase by Stephanie Lynn
- Craft-O-Maniac
- DIY Show off
- Coastal Charm
- Skip to my Lou
- Hope Studios
- A Stroll Thru Life
- Savvy Southern Style
- The DIY Mommy
- Tidy Mom
- Chic on a Shoestring
- The Shabby Nest
- Craft Dictator
- Not Just a Housewife
- Ginger Snap Crafts
- Fluster Buster
- Tater Tots and Jello
- Little House in the Suburbs
- The Romantic Home
- My 1929 Charmer
- Nifty Thrifty Things
- Boogieboard Cottage
- Moonlight and Mason Jars party
- It’s a Ginger SNAP
- Weekend Retreat

Love it! Great tutorial. Thanks for sharing. You are the Star Feature at the Before and After Wednesday party at The Dedicated House. Here is the link to today’s party. http://www.thededicatedhouse.com/2014/06/before-and-after-wednesday-week-19.html Hope to see you again at the bash! Toodles, Kathryn @TheDedicatedHouse
LikeLike
Wow, what a difference that makes, it looks awesome. Good work!
Know you must be loving it.
Blessings, nellie
LikeLike
Wow! Beautiful! I really want to add some moulding to our new home, and I’m contemplating either this look or board and batten. Yours is gorgeous! If you want, I’d love for you to link up this project to Motivational Monday: http://thediymommy.com/motivational-monday-3-craft-diy-home-decor-link-party/ Have an awesome night!
LikeLike
Thank you Christina! I worked really hard on it, and I’m thrilled with the way it turned out! I’d love to link to your party!
LikeLike
Wow that looks beautiful. Thanks for sharing your pictures and tutorial on Merry Monday. Hope to see you again tomorrow.
LikeLike
That looks fab! Thank you for sharing this post at City of Creative Dream’s City of Links on Friday! I appreciate you taking the time to party with me. Hope to see you again this week 🙂
LikeLike