


Meet our living room stencil wall. This wall and I have a love hate relationship. I love the finished product, even though it’s a little more “in your face” than anticipated, but I hate it because it took FOREVER to finish. Be warned! If you want to do a stencil wall, be prepared to put some serious time into it. I’m too afraid to add up the exact amount of hours spent on the wall, but I’d say it took about 2-3 hours per row. You can count the rows and do the math. It was A LOT of soul sucking time! Seriously, I felt like I’d lost a piece of my soul when this thing was finished.
In hind sight there’s only 1 thing I’d do differently: I’d use a color other than white so the pattern would be more subtle. Maybe a lighter/darker shade of the blue, or even the same shade in a gloss. With all the negative comments out of the way let me say, I DO love the stencil wall. It was almost painted over multiple times in the process of completing it, but I’m glad I stuck with it.
What you’ll need:
Stencil *Mine was purchased at Hobby Lobby. I used a half off coupon which made it around $7. That beat the $60 I almost spent ordering one eerily similar online.
Stencil brush/roller *depending on what you want the finished product to look like.
stencil adhesive/tape
brush cleaner if you’re doing a large wall
paint
level
marker/pen
PATIENCE!

*Instead of doing this on my wall I used a cardboard box. Like I said before, bear with me while I improvise.*
Every stencil is going to have a way to mark it in order to keep the pattern flowing and level.
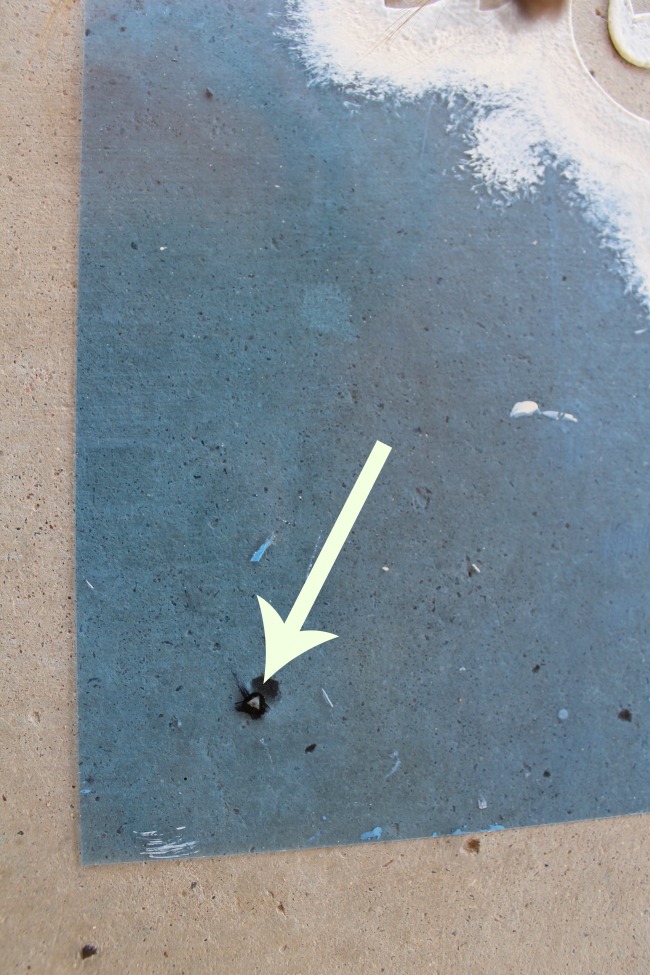
I decided to start stenciling from the floor up because our ceiling is pitched. Normally I’d recommend going from the top down to avoid having an incomplete pattern at the top. Once I made sure the floor board was level, I placed the stencil right on top of it and started marking the wall at each dot-one in each corner. The blue was dark enough that I had to use a sharpie or I couldn’t see it. Touch ups were necessary anyway, so touching up the dots was no big deal.

I continued lining up the dots and marking the wall. Once the entire wall was marked, I moved onto the fun stuff.

Our walls are heavily textured so the stencil adhesive I tried to use didn’t work. I have a feeling it would work just fine for smoother walls. In our case it was easier to use painters tape to secure the stencil to the wall. In the beginning I tried to use a roller to apply the paint. The look didn’t suit what I was going for and it was really easy to make a mess of things. I decided to go with a stencil brush. I was stenciling after all. My wall is fairly large, so I actually ended up going through 4 brushes. Stenciling is no joke!

Keeping the brush parallel to the floor the entire time, with just paint on the tip, I started stippling the pattern onto the wall.
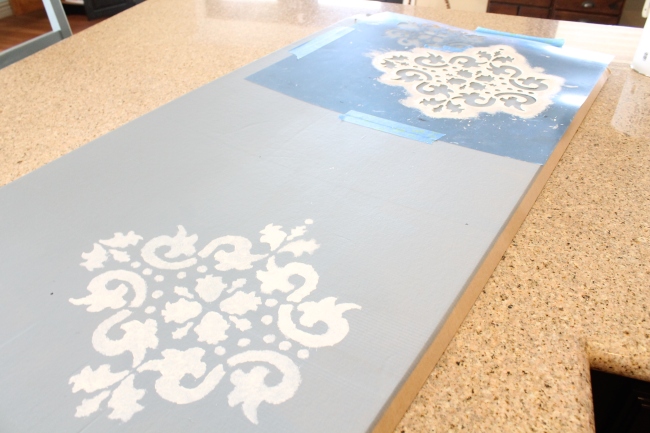
Because part of the stencil overlapped the part I had just finished, I had to skip to the next section in order to continue working. Lining up the holes in the stencil, with the dots on the wall, I kept going back and forth until I had completed a row. Once a row was done, I’d move up on the wall.

A few times in the stenciling process, because my project was so large, paint built up on the stencil making my pattern gradually get smaller. I decided to buy this brush cleaner at Hobby Lobby and improvise.

First I started by placing the stencil over some parchment paper to keep everything contained (anything will work really).

It’s hard to see, but I put brush cleaner all over the stencil and rubbed it in with a brush.

Once everything was covered with the paint remover, I covered it with plain old plastic wrap.

After sitting for 20 minutes, covered with plastic, the paint started pealing right off.

Taking some care not to rip intricate parts of the stencil, all the paint came off in one piece. Voila! A clean stencil.
Overall I’m happy with our stencil wall. It holds my favorite wall decor: our family pictures. Would I do it again? Ehhh…depends on my mood. Sometimes I feel like I’d definitely do it again but with a more subtle color/pattern, and other times I feel like I’d go an entirely different direction. Good thing it’s just paint!
See where this post likes to party!
- Craft-O-Maniac
- DIY Show off
- Hope Studios
- Tidy Mom
- Chic on a Shoestring
- The Shabby Nest
- Craft Dictator
- A Stroll Thru Life
- Not Just a Housewife
- Ginger Snap Crafts
- Tater Tots and Jello
- Little House in the Suburbs
- The Dedicated House
- Sweet Haute Blog
- Nifty Thrifty Things
- Boogieboard Cottage
- Moonlight and Mason Jars party
- It’s a Ginger SNAP
- Craft Frenzy Friday

Thanks for the love Britni!
LikeLike
Absolutely beautiful! Not sure I could dedicate that much time to do such a major job…especially seeing I hate to paint!
Have a wonderful weekend.
LikeLike
Thanks for linking this up this week at the Pinworthy Projects link party! I can’t believe it took you so long to do this project! I did a similar stenciling project in my dining room a few months ago and I think it took me maybe 7 hours total for the whole project! I think maybe a fatter, wider, stencil brush would have helped you a lot because it made things go really fast for me! You can check out my project here if you want: http://domesticsuperhero.com/2013/09/19/dining-room-makeover/ I think your wall turned out great though!
LikeLike
This is beautiful!
LikeLike
you did a GREAT job centering and measuring and making it all perfect!
LikeLike